The Nerdy Traveler

Menu
  • Home
  • About me
  • Nerdy Chronicles
    • Hiking
    • Discovering PH
    • Around the World
  • Featured
    • Insights
      • Hiking
      • Travel
      • Environmental Awareness
    • Open Climbs
    • News Log
  • Project 16/81
  • Milestones
  • Uncategorized
Showing posts with label level 3. Show all posts

Tuesday, November 22, 2016

Hiking Chronicles: Maysawa Circuit (Mt. Sa Pari - Mt. Binutasan Trail)

By  2016, august 2016, circuit, hike, level 3, maysawa, minor, rizal

Maysawa Circuit - Mt. Sa Pari (592+ MASL) and Mt. Binutasan (577+ MASL)
Sitio Maysawa, Brgy. Cuyambay, Tanay, Rizal
Mountain specs: Difficulty 3/9 | Minor climb | Trail class 1-3
Source: pinoymountaineer.com

FACTS ABOUT MAYSAWA CIRCUIT

Maysawa Circuit is one of the newly opened hiking destination in Rizal. Located in Brgy. Cuyambay, Tanay, Rizal, it houses two mountains - Mt. Sa Pari and Mt. Binutasan,and a waterfall-river system.

Mt. Sa Pari was called such as according to the locals, the mountain was owned by a priest. Mt. Binutasan, on the other hand, was called such due to a trail that seems to "binutas" or create a hole on the mountain, leading to other barangay in Rizal. Similar to Maynoba Circuit, Maysawa Circuit became famous due to sea of clouds and views of Sierra Madre.

-----------------------------------
The mountains are calling.. Breathtaking views from the trails of Maysawa Circuit.
It was just only two weeks after the official opening of Maysawa Circuit when I decided to push for a hike last August 21. I called my friend, Gab, to accompany me. The plan was to do a double circuit - Maynoba-Maysawa twin circuit hike but due to the time constraint, we changed our itinerary. We met at Chowking Farmers at around 4:30 AM and made our way to Cogeo, where jeepneys bound to Brgy. Sampaloc are located. We asked the driver to drop us off at Sitio Maysawa and after an hour of ziggidy-zaggidy ride, we were at the jumpoff.
A common sight to hikers bound to Tanay.
However, we weren't aware that the registration isn't at the jumpoff but rather on the barangay hall which is located kilometers away. We then rode a tricycle to take us to the barangay hall. By the way, Brgy. Cuyambay homes another recently opened mountain destination, Mt. Paliparan and Nagpatong Falls, and similarly, the registration happens at the barangay hall.
The barangay hall of Cuyambay with some of hikers bound for registration.
Cuyambay Hane! Some of the attractions in Cuyambay presented in the barangay hall.
Just like most of the mountains in Tanay, the barangay hall strictly implements a no guide, no hike policy. Guide fee costs Php 700 for the entire circuit, Php 400 for a single mountain hike. A separate registration fee of Php 25 is also collected. After registration, we were on out way to the jumpoff.
First part of trail. Relatively flat and wide.
During that day, the monsoon rain hasn't yet subsided. We were thankful that at that time, the weather seems to favor our odds. The first part of the trail is relatively flat and wide, leading to the junction of the circuit. This part of the trail is quite long, taking us an hour just to reach it. The junction can be easily identified by a wooden hut; the trail to the left leads you to Mt. Sa Pari while the trail to the right leads you to Mt. Binutasan. We took the left trail.

The trail changes to a gradual assault. Because of the continuous rain, the trail is really muddy and slippery. Another challenge during that hike is the presence of limatik along the trail. Since the mountain has just recently opened, one can readily notice how less established the trail is. Moreover, there are a couple of forks that lead to different ways. Our guide told us that the entire circuit has more than three trails, but only a single trail reaches both peaks of Mt. Sa Pari and Mt. Binutasan.
The road less taken. Assaulting Mt Sa Pari
From the forested character, the trail becomes grassy and open, where one can already see the views of Sierra Madre southern range and Mt. Binutasan. Several rock formations can also be seen along the trail.
Oh, say hello to that rock!
After two hours, we have reached the summit of Mt. Sa Pari.
Standing at the highest point of the entire circuit, with Mt .Binutasan at the background.
One can readily observe that the summit character of Mt. Sa Pari is very much similar to its neighboring mountains such as Batolusong, Irid, Paliparan, etc, which can be seen from there. According to our guide, incidence of sea of clouds is higher in Maysawa rather than in the more famous Maynoba Circuit. We stayed in the summit for almost an hour.

Afterwards, we started our traverse to Mt. Binutasan. It was a gradual descent at first with a lot of confusing forks. Even though Mt. Sa Pari is higher in terms of altitude, most of the locals here call the summit of Mt. Binutasan as the "summit".
The muddy trail to Mt. Binutasan.
The way to the summit of Mt. Binutasan.
Different from Mt. Sa Pari, Mt. Binutasan is less rocky and full of vegetation, primarily of talahib and cogon grass. The ascent only starts from the summit marker, where one can reach the summit within an hour.
The view from one of the points of Mt. Binutasan, showing the range of Mt. Maynoba and Mt. Cayabu.
The summit of Mt. Binutasan is marked by a red flag, It offers a 360° view of the rest of the Rizal mountains.
Mt. Sa Pari and Mt. Batolusong as seen from Mt. Binutasan.
The rest of the Sierra Mountain southern mountains, with Mt. Irid and Mt. Tukduan Banoi seen from afar.
Finally, conquered Maysawa Circuit!
We started our descent down to the Maysawa Falls after thirty minutes of stay in the summit. The path to the falls starts with a grassy trail and according to the guide, this is the most limatik-infested part of the entire Maysawa Circuit. It was a continuous descent up until the fork marked by a coconut tree - the path going to the left will lead you to Maysawa River and Falls; the path on the right, to the circuit end, Unfortunately, during our descent down, rain started to pour. Our guide told us that going to the falls itself is not advisable. We just managed to go to the river.
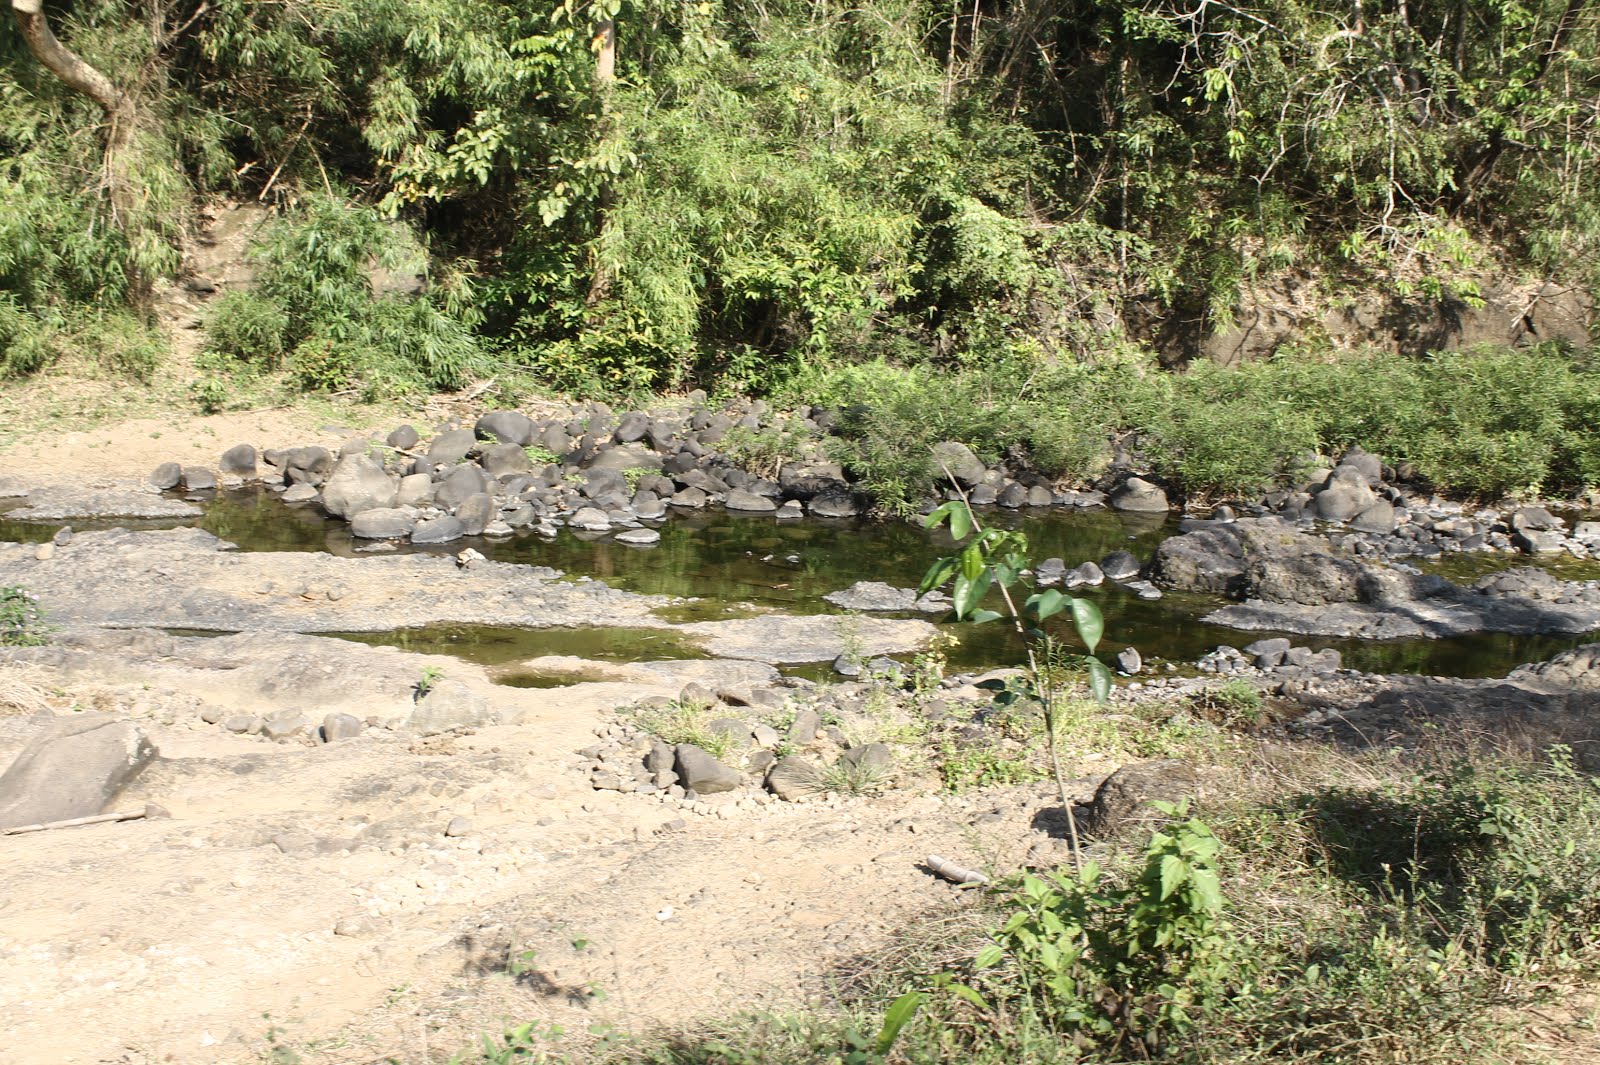
The rushing clear water of Maysawa River.
Just to note, before dipping to the river, ask the guide of the limatik presence because surprisingly, limatik are also present in the river, especially on those regions with rocks. My hiking buddy actually got one few seconds after dipping his body in the river.

We went back to the trail after fifteen minutes and in an hour and a half, we were back at the jumpof. After taking a bath and settling our payments, we headed back to Manila.

ITINERARY
Maysawa Circuit (Mt. Sa Pari – Mt. Binutasan)
04:00 AM
Assembly at Jollibee Farmers. Take jeep to Cogeo Gate II.
04:30 AM
ETA Cogeo Gate II. Take jeep bound to Sampaloc.
06:00 AM
Arrival at Brgy. Cuyambay. Take trike to barangay hall.
06:15 AM
Arrival at barangay hall. Register. Secure guides.
06:30 AM
Take trike to Maysawa jumpoff.
07:00 AM
Start trek.
08:30 AM
Arrival at circuit junction. Take left trail to Mt. Sa Pari.
10:30 AM
Arrival at Mt. Sa Pari summit. Explore viewpoints.
11:00 AM
Start descent. Take traverse trail to Mt. Binutasan.
12:00 PM
Arrival at kubohan. Lunch.
12:30 PM
Resume trek.
02:00 PM
Arrival at Mt. Binutasan summit. Explore viewpoints.
02:30 PM
Start descent to Maysawa Falls.
03:00 PM
Arrival at Maysawa Falls. Explore area.
03:30 PM
Start trek back to jumpoff.
05:30 PM
Arrival at jumpoff. Tidy up.
06:00 PM
ETD Brgy. Cuyambay
08:00 PM
ETA Manila

SPECIAL NOTES
Transportation: Going to Brgy. Cuyambay can be accessed through public transportation. One may opt to take the route described on the itinerary or ride a jeep to Tanay at Shaw, then take a jeep to Sampaloc, from jeeps going to Antipolo/Cogeo can be found. 

For private transportation, take the Marcos highway. Stop at Pico de Pino Cafe and Restaurant. Take the downhill road on the right to go to the barangay hall. Parking is available at the Maysawa jumpoff at Php 25 per day.

Registration, porter and guide fees: Guide fees are fixed at Php 400 if you opt to go for a single hike, Php 700 for the entire circuit. The barangay hall implements a no guide, no hike policy. Registration and environmental fees costs Php 40.00.

Hiking and camping notes:

  1. Most parts of the trail are grassy and open. Wear proper attire.
  2. Cellular signals are not present across the entire trail.
  3. The whole trail is infested with limatik or leeches. Prepare accordingly.
  4. The trail can be really muddy and slippery especially during rainy season.
  5. There are two water sources along the trail - one on the circuit junction and the other one is on kubohan. 
  6. Campsites are available at Mt. Binutasan.

Estimated budget: Php 600 - Php 800 (dayhike)

Overall rating of the mountain: 8/10. The mountain is relatively new and untouched.
Read More

Thursday, March 24, 2016

Hiking Chronicles: Mt. Marami

By  2016, hike, level 3, marami, minor

Mt. Marami (405+ MASL)
Brgy. Ramirez, Magallanes, Cavite
Mountain specs: Difficulty 3/9 | Minor climb | Trail class 1-3

FACTS ON MT. MARAMI
Mt. Marami is a dormant volcano located in Cavite. Though  few kilometers away from the famous Pico de Loro, Mt. Marami was not integrated as part of the Mt. Palay-Palay Range. The mountain has been tagged as Mt. Tala, Mt. Buntis and Mt. Maragondon and some accounts of Bonifacio's death are said to happen on this mountain. However, claims are still under validation though it was clear that the execution of Bonifacio happened on the same mountain range.

Mt. Marami, or known as Mataas na Gulod or Nagbuo, got its name from numerous rock formations on the summit.

---------------------------------------
Since I got no date during this special day, I invited my two regular hiking buddies and two first-timers (April, Ivy, Louie and Gio) to get ourselves to the summit of Mt. Marami. It was supposedly an overnight hike as I was really avoiding the scorching heat of the sun but due to some conflicts in the schedule, we pushed through with a Valentines' dayhike.

I met April and Louie in Coastal Mall at around 4:30 AM and rode a bus bound to Ternate, the same bus going to Pico de Loro. We dropped off by Naic and walked ourselves to Naic Grand Terminal where we waited for Ivy and Gio. On the terminal, we were asked by a driver if we would like to join them on the jeep as a group of hikers bound to the same mountain rented the said jeep. After some negotiation, we agreed and at 7:00 AM, we were on our way to Brgy. Ramirez.
With my fellow hikers at the jumpoff of Mt. Marami.
We then registered at the barangay hall. Registration fee costs Php 25.00 per person and guide fees are fixed at Php 500 per group of ten persons. We were assigned to a teenager guide named Kirby. After arranging all things, we had our hike at 08:00 AM.

Similar to what Marami's trail has been known, Kirby reminded us that going to the summit of Mt. Marami isn't that easy. It wasn't really that easy. The first half of the trail is wide and easy, with multiple crossings on Ilog na Kaybanga. It was pretty straightforward, though most parts of the trail is loose and exposed to the sun.
Walking ourselves on the loose trail of Mt. Marami.
One of the sections of river crossing along the trail.
After an hour, we reached the Nuestra Señora Trail registration office. Since this point is covered by Maragondon, Cavite, a new set of registration fees is collected. Registration fee costs Php 20.00 per person. According to Kirby, aside from the Nuestra Señora Trail, there exists a couple of trails that are less discovered. However, he mentioned that the barangay hall hasn't yet opened these trails officially and there are still security concerns along these trails.
Chilling at a small shed in the registration booth of Nuestra Señora trail.
From here, a glimpse of the Mt. Marami can be seen from afar.
So near yet so far. See the prominent rock formation sof Mt. Marami.
After an hour of walking and river crossing, we finally have reached the first part of the cardiac trail. We were welcomed by a 45° continuous ascent and I'll tell you it was gruesome. Unlike most of the mountains, the ascending part to the summit of Mt. Marami is on the second half of the trail. After being exhausted with the scorching heat of the sun, one should expect that at this point, Marami will really drain your energy out. This treacherous trail is what made Marami famous.

There are a couple of stopovers where one can take rest. On one of the stopovers, we met some locals resting underneath a tree. Together with them are roosters of a different blend, I would say, smaller than usual roosters and their wings are shaded with green. According to the locals, they are called labuyo and they use these roosters to get wild chicken. On how they use it is really a surprise to all of us. They will let the roosters wander at a specific part of the mountain and these roosters make sounds that signal the wild chickens to come near to them. The locals will then catch these chickens using nets. A good day yields two to three chickens but during our visit, they said they haven't gotten any yet.
The last assault to the summit.
Since it was already getting noon, we hurried ourselves up to reach the summit as we definitely don't want to get cooked by the intensifying heat of the sun. After a total of five hours, we have reached the summit of Mt. Marami.
Standing on one the rock formations in the summit.
Relaxing under the heat of the sun. Yes, it is possible.
Though usually termed as the summit, the highest point of Mt. Marami is not found on any of the rock formations. If looking from these formations, you will see a pointed peak somewhere around east of the range. This peak, however, isn't accessible and has a trail opposite to the rock formations. It is in this reason that hikers are directed to the rock formations. From the summit, sights of Pico de Loro and Mt. Palay-Palay range, Talamitam, and Batulao can be seen. It is also in the summit where the famous Silyang Bato rock formation can be found.
A chair made of rock. Indeed worthy of its name.
 A summit of triumph and victory.
Braving myself not to fall from this stone. Braving heights and altitude.
Who's gonna leave Silyang Bato without literally sitting on it?
Strike a pose. Fierce. Energetic.
We stayed in the summit for an hour to enjoy the view and regain ourselves from the exhaustion earlier.
Pure happiness. Group shot at the summit of Mt. Marami.
We left the summit at around 01:30 PM and since the hike isn't a traverse one, we crossed the same trail we took earlier. We reached the jumpoff four hours after. It was our first time to end a hike on an evening. Luckily, tricycles are available to bring us back to Maragondon proper. After tidying up and preparing our things, we left Brgy. Ramirez at around 07:00 PM. We arrived at Manila at around 10:00 PM.

Despite the mountain's relatively lower altitude, Mt. Marami should not be really taken easy as it has proven itself to be one of the challenging dayhikes.

ITINERARY
Mt. Marami – Silyang Bato
04:00 AM
Assembly at Coastal Mall
04:30 AM
ETD Coastal Mall. Ride bus bound to Ternate/Naic.
06:00 AM
ETA Petron Naic. Walk to Naic Grand Terminal.
06:15 AM
Ride jeep to Brgy. Ramirez.
07:30 AM
ETA Brgy. Ramirez. Register and secure guides
08:00 AM
Start trek.
09:00 AM
Arrival at Nuestra Señora Trail registration. Register and pay fees.
12:00 PM
Arrival at Mataas na Gulod summit. Explore area and viewpoints.
01:00 PM
Start descent.
04:30 PM
Arrival at Brgy. Ramirez. Tidy up.
05:30 PM
ETD Brgy. Ramirez. Take jeep or tricycle to Naic/Maragondon.
06:30 PM
Arrival at Naic/Maragondon. Take bus bound to Manila.
09:00 PM
ETA Manila
SPECIAL NOTES

Transportation: Going to Mt. Marami is accessible via Naic-bound buses. Drop off by Petron Naic at the junction and walk towards the Naic Grand Terminal where jeepneys going to Brgy. Ramirez can be found. Bus fares costs Php 77.00 and jeepney fare to Brgy. Ramirez costs Php 35.00. Note that the last trip of jeepney from Brgy. Ramirez to Naic leaves at 06:00 PM, after which tricycle trips can be arranged. Last bus trips from Ternate/Naic leave at around 08:00 PM. 

For private vehicles, go straight to Cavitex and enter Kawit Exit. Take the Aguinaldo Highway until you reach Petron Naic junction. Take the left road. At the street cornering BPI, turn left and continue until reaching Brgy. Ramirez.

Registration, guides and porters: As of 2016. the barangay hall strictly implements a no-guide, no hike policy. Guide fees cost Php 600 for five persons per day, porter fees cost the same. Registration fee at the barangay hall costs Php 10.00. Upon arrival at the Nuestra Señora registration booth, registration fees are collected at Php 20.00

Hiking and camping notes:

  1. Most parts of the trail is exposed to sun. Wear appropriate clothing and apply sunblock to exposed areas.
  2. It is advisable to pack at least three liters of water. There is a water source halfway along the trail.
  3. Cellphone signal is sporadic throughout the entire trail.
  4. During rainy days, the trail can be extremely slippery and muddy. Prepare accordingly.
  5. Some parts of the trail are dominated by grass and talahib. Wear appropriate clothing.
  6. Campsites are available; however, is not present in the summit.
  7. Observe proper LNT principles.
Estimated damage: Php 500 - Php 700

Overall rating of the mountain: 8/10. Recommended for those who want to try a challenging dayhike near the metro. A Mt. Marami hike is usually done as a preparatory climb to major climbs.

Credits to Gio Zaragosa for the photos.
Read More
Older Posts Home

About the blog

On seas, summits, rivers, mountains and different destinations across the world. This blog narrates the stories and experiences of a simple traveler who wants to mark his step in every part of the world.

Featured Post | Summiting 2015

Featured Post | Summiting 2015

Popular Posts

  • Hiking Chronicles: Mt. Daraitan
  • Hiking Chronicles: Mt. Pulag - Ambangeg Trail
  • Hiking Chronicles: Mt. Mariveles - Tarak Ridge

Blog Archive

  • ▼  2016 (12)
    • ▼  November (1)
      • Hiking Chronicles: Maysawa Circuit (Mt. Sa Pari - ...
    • ►  August (2)
    • ►  March (2)
    • ►  February (2)
    • ►  January (5)
  • ►  2015 (10)
    • ►  October (1)
    • ►  September (2)
    • ►  August (4)
    • ►  July (2)
    • ►  June (1)
Powered by Blogger.

Contact Us

Name

Email *

Message *

Copyright © The Nerdy Traveler | Powered by Blogger
Design by Flythemes | Blogger Theme by NewBloggerThemes.com